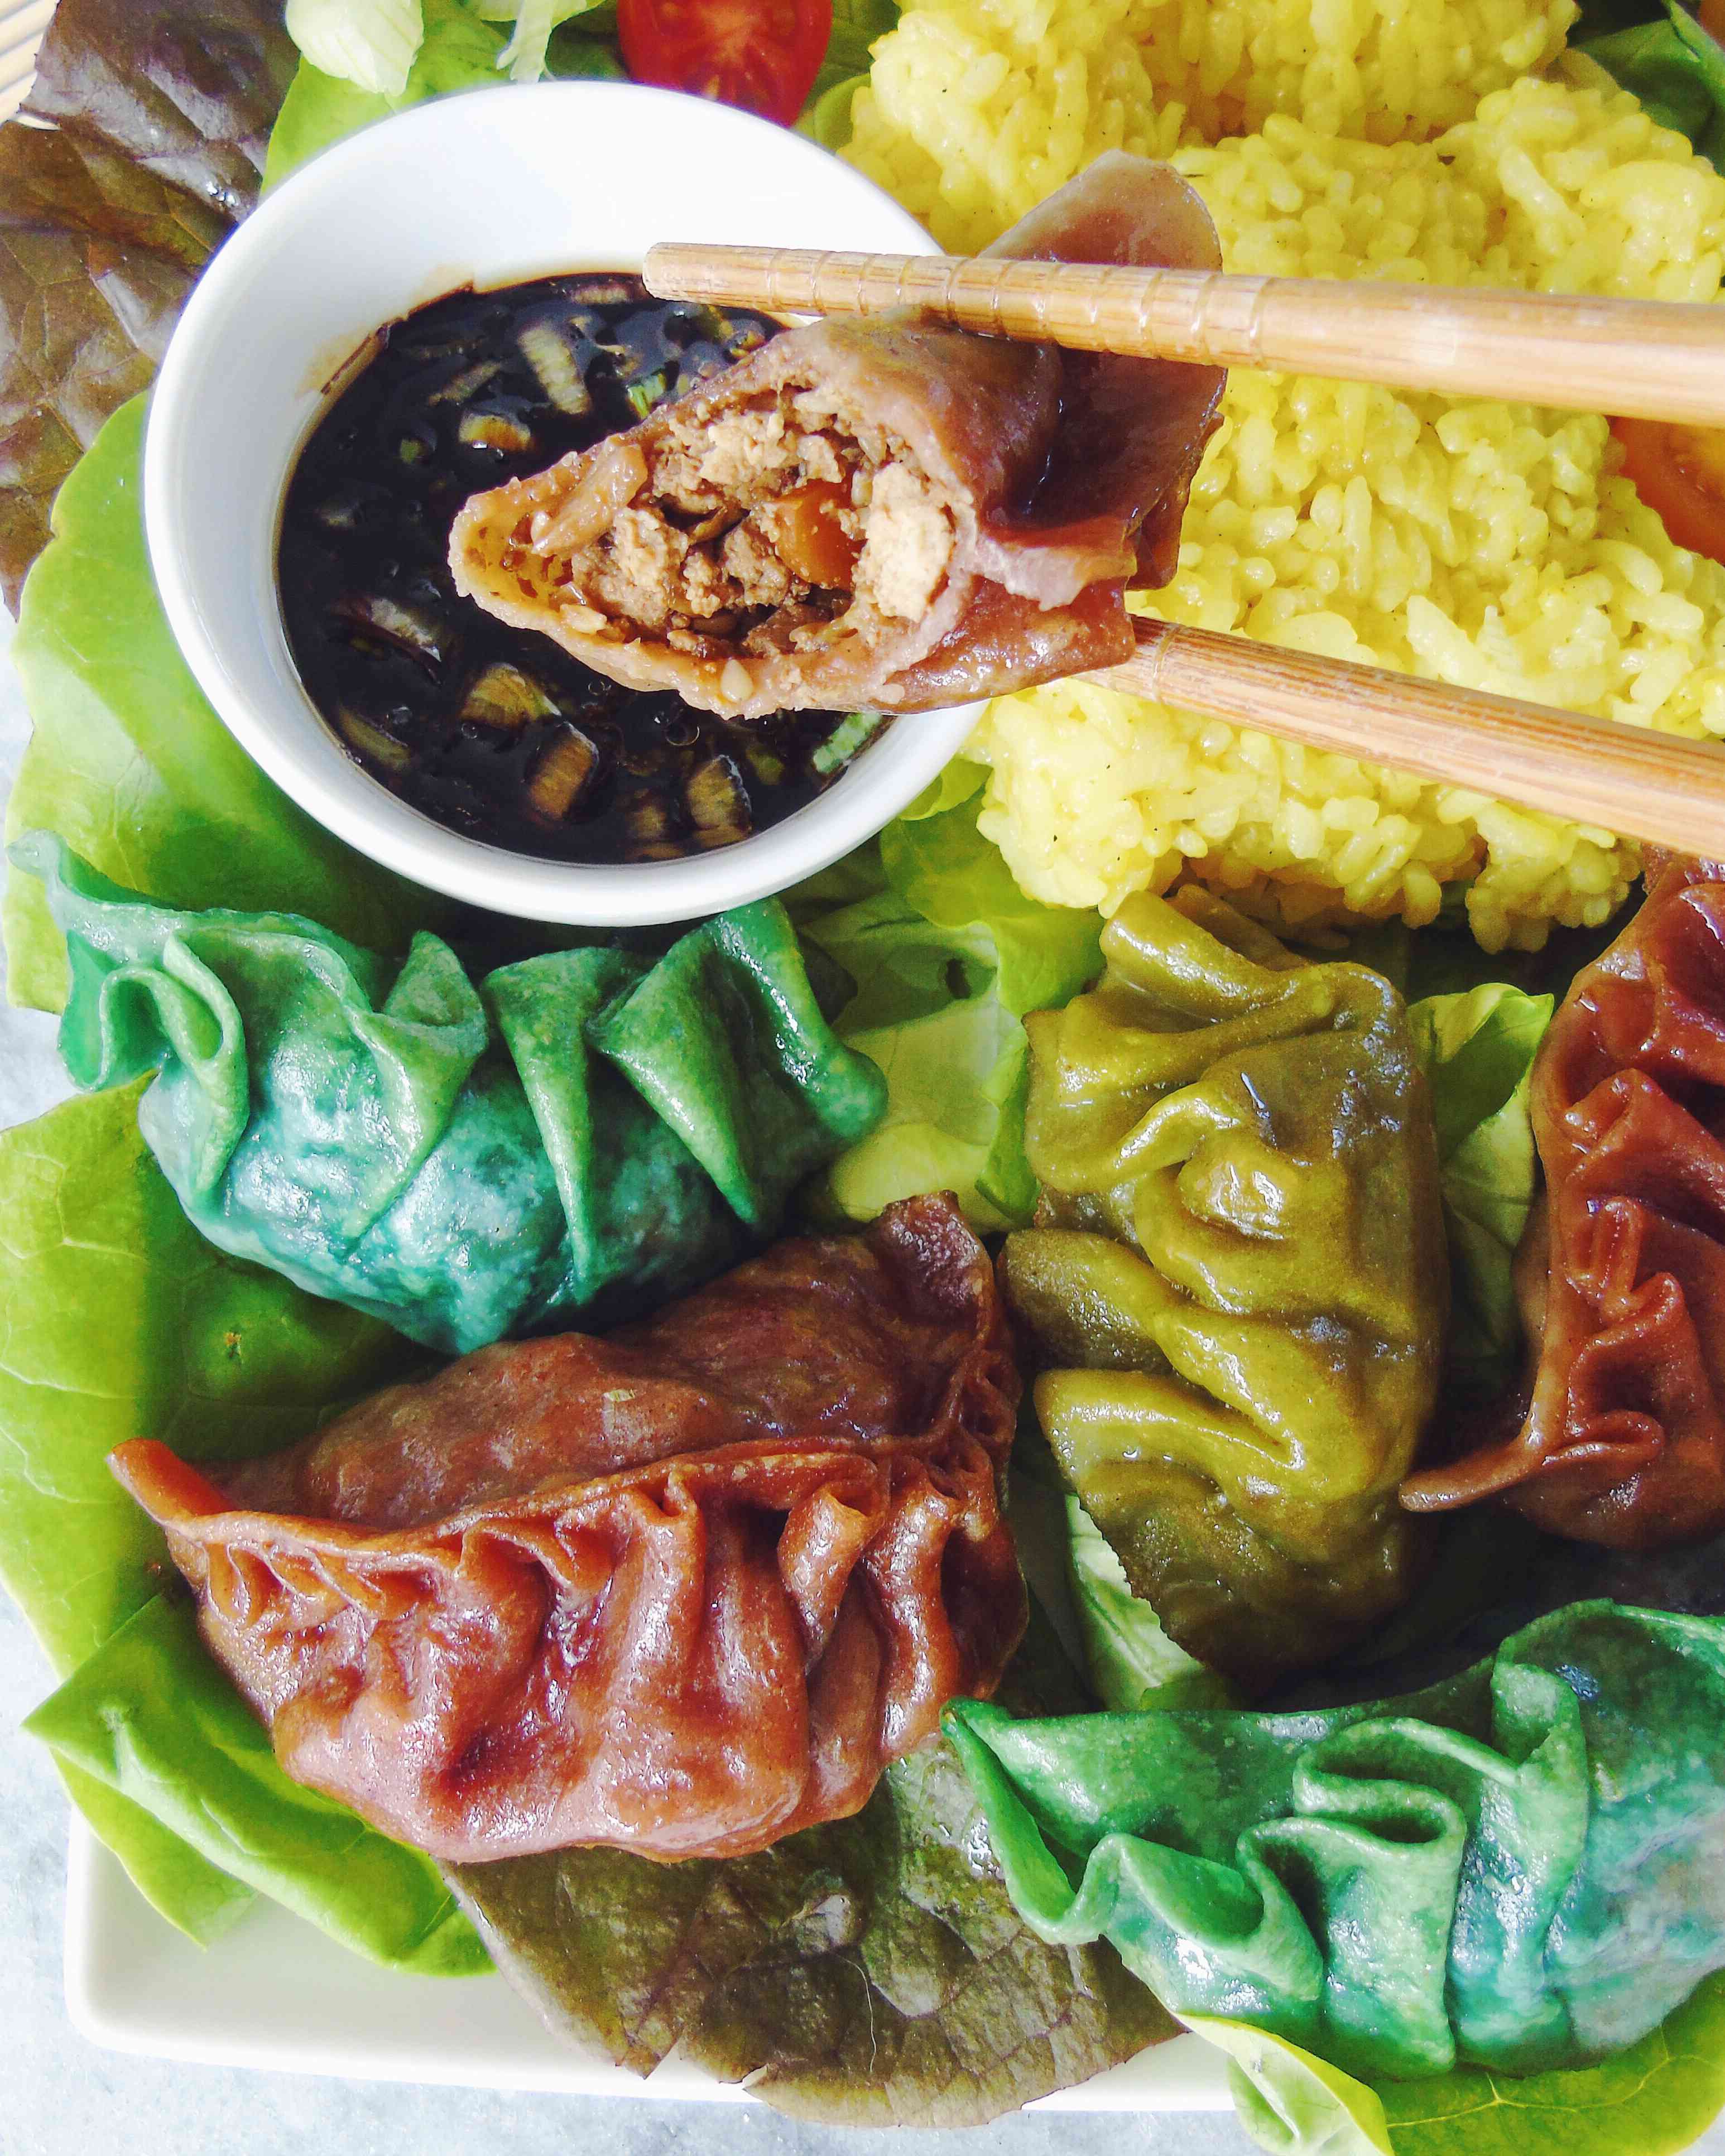
Every once in a while me and some of my vegan friends come together for dinner, we all bring a dish and have an awesome evening filled with food babies, laughter and the occasional spontaneous yoga moves. This time I decided to make some dumplings, because everybody loves dumplings, right?!
Dumplings are very easy to make vegan and me being obsessed with colourful food decided to go take them the next step and made some coloured dumplings. They were delicious! I made two different kinds of fillings and of course the filling that took all the stars has no recipe because I didn’t write it down. I’ll try to replicate it and share it in another recipe, but don’t be discouraged, this filling is absolutely delicious, no, its insanely delicious!
Talking about fillings, you can use whatever filling you like, If you are brave you can come up with your own dumping filling, use you imagination. I’ve also got some other dumpling recipes over here.
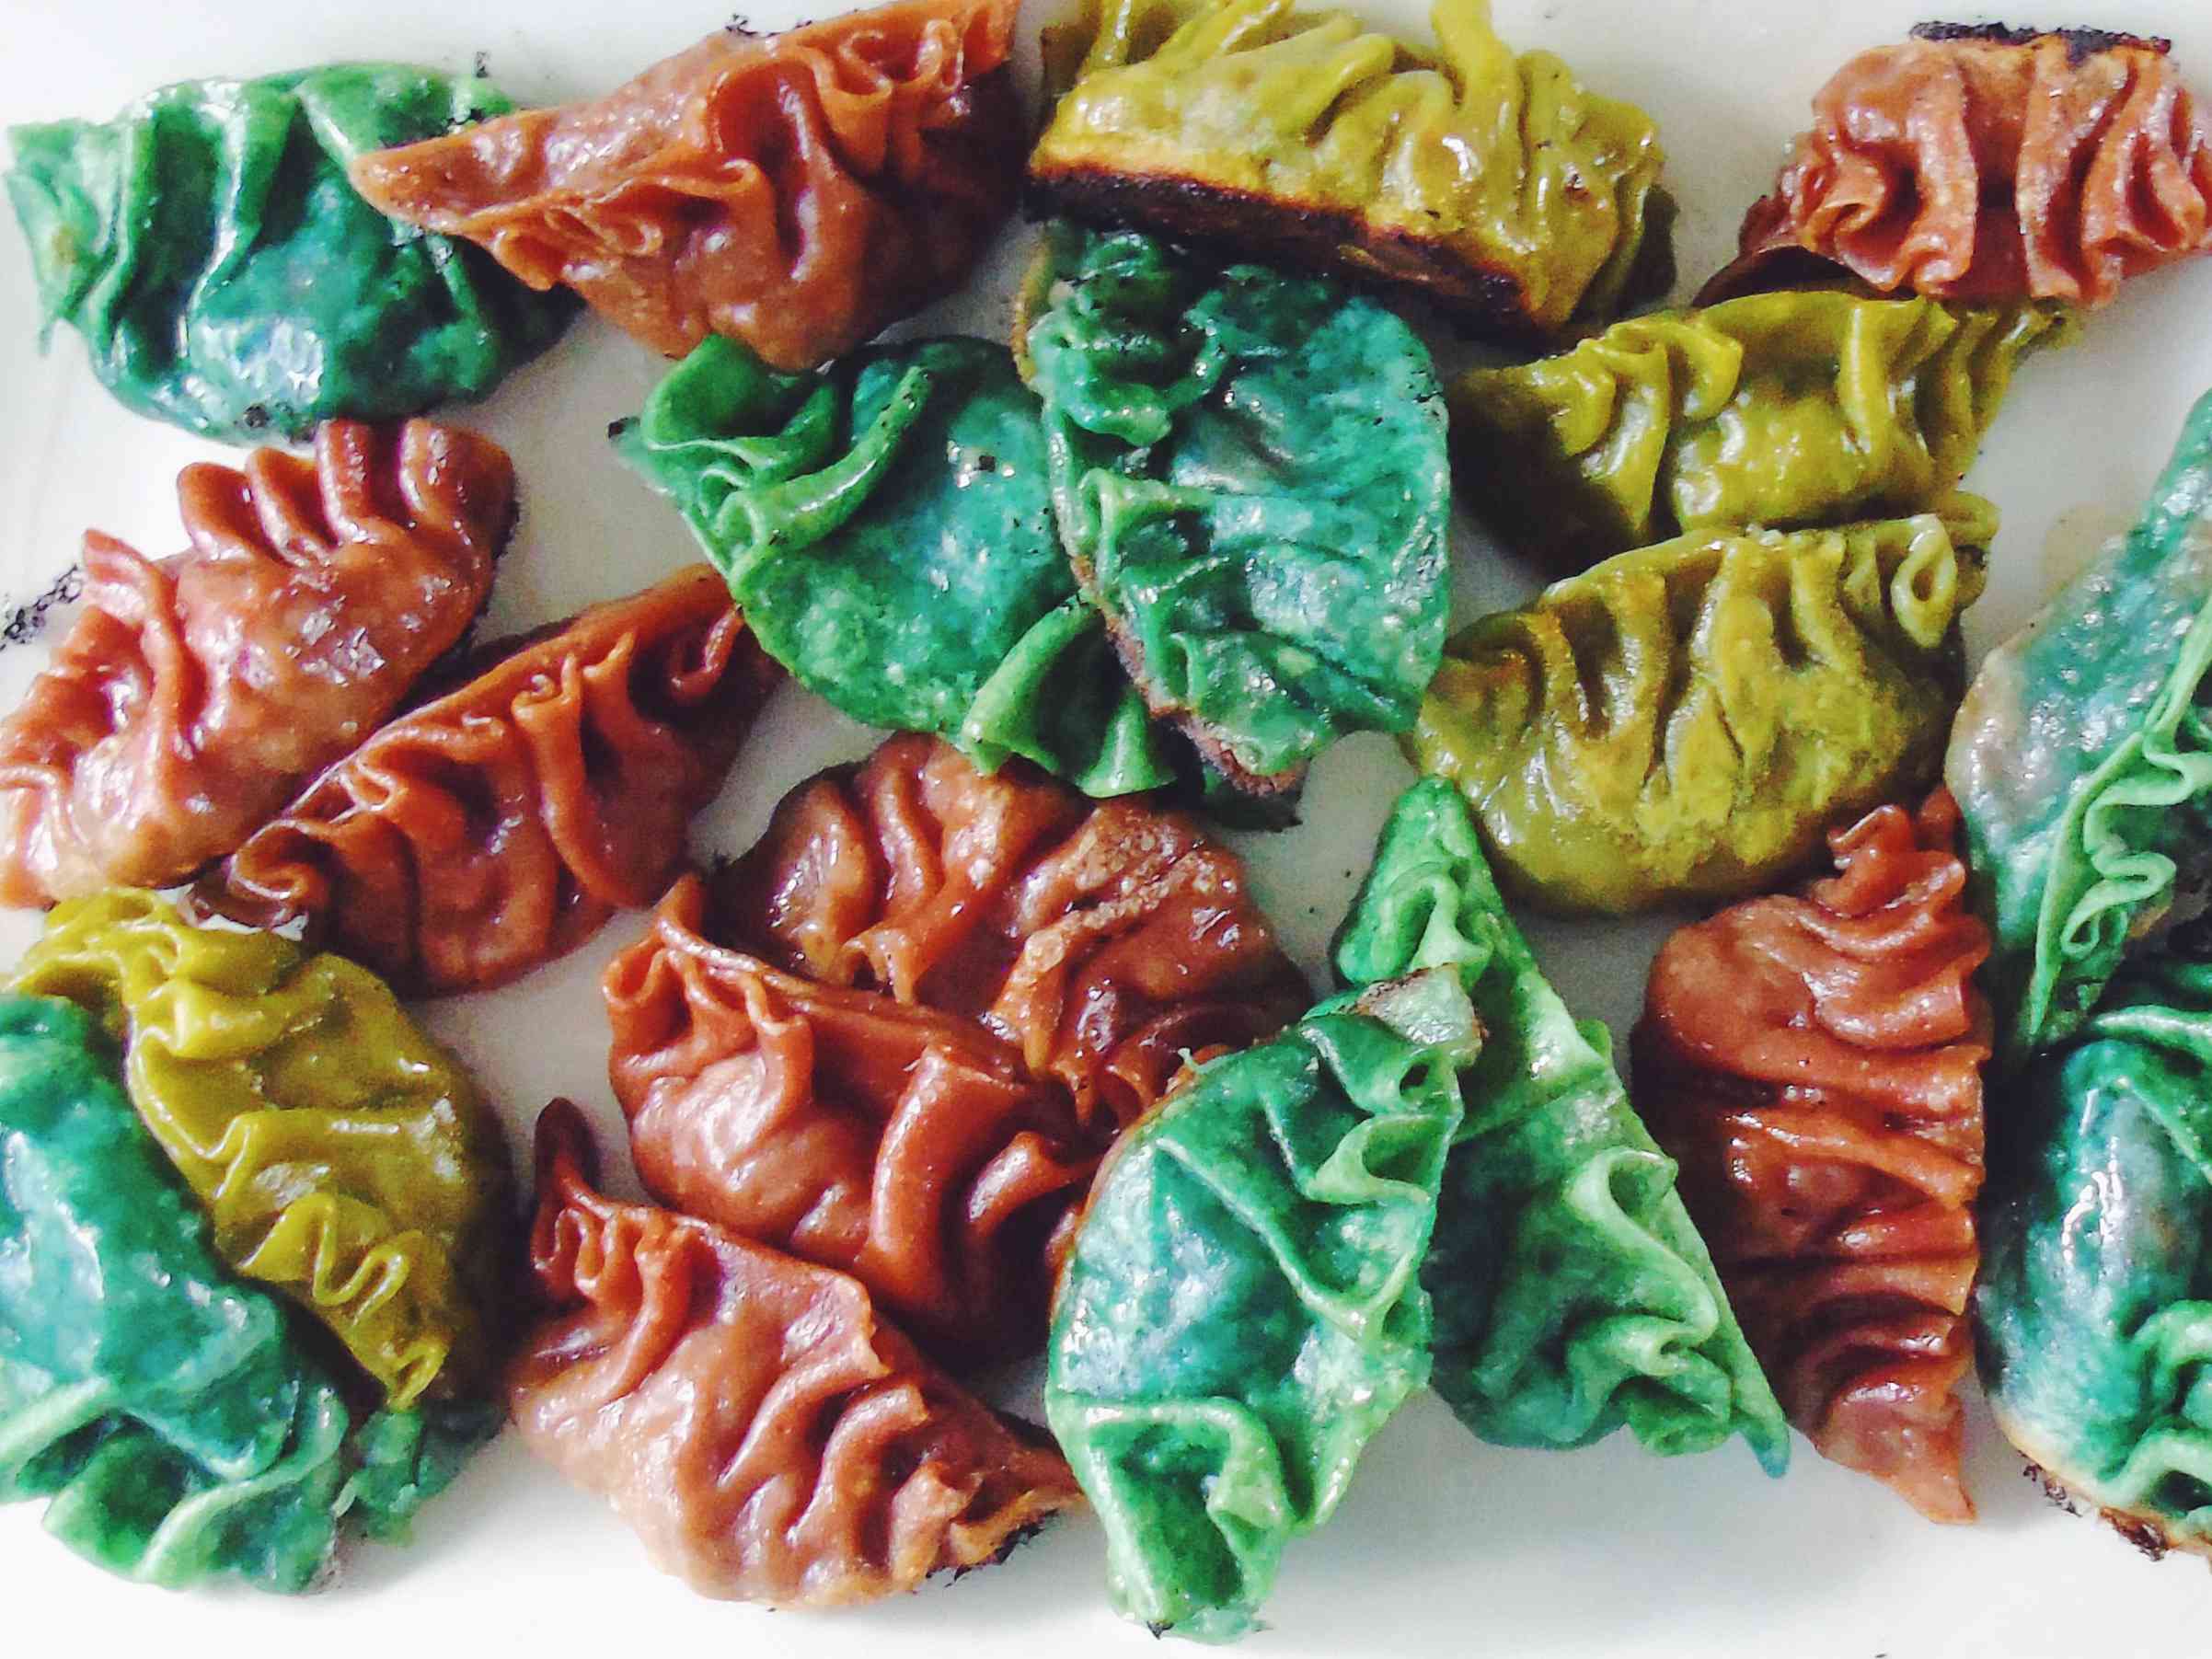
Making multi coloured dumplings can be very labor intensive, but trust me, it is worth it. One of my favourite things to do is making multi coloured foods and sharing it with friends. You can use whatever colour you like, beets will make a nice red or pink, water boiled with cabbage makes a nice purple or blue, spirulina makes a nice green and mixed with turmeric a lime green and turmeric add a yellow colour to the dumplings. I think I’ll make a separate post on natural food colouring, because here at the indigo (aka rainbow) kitchen colour plays a big roll.
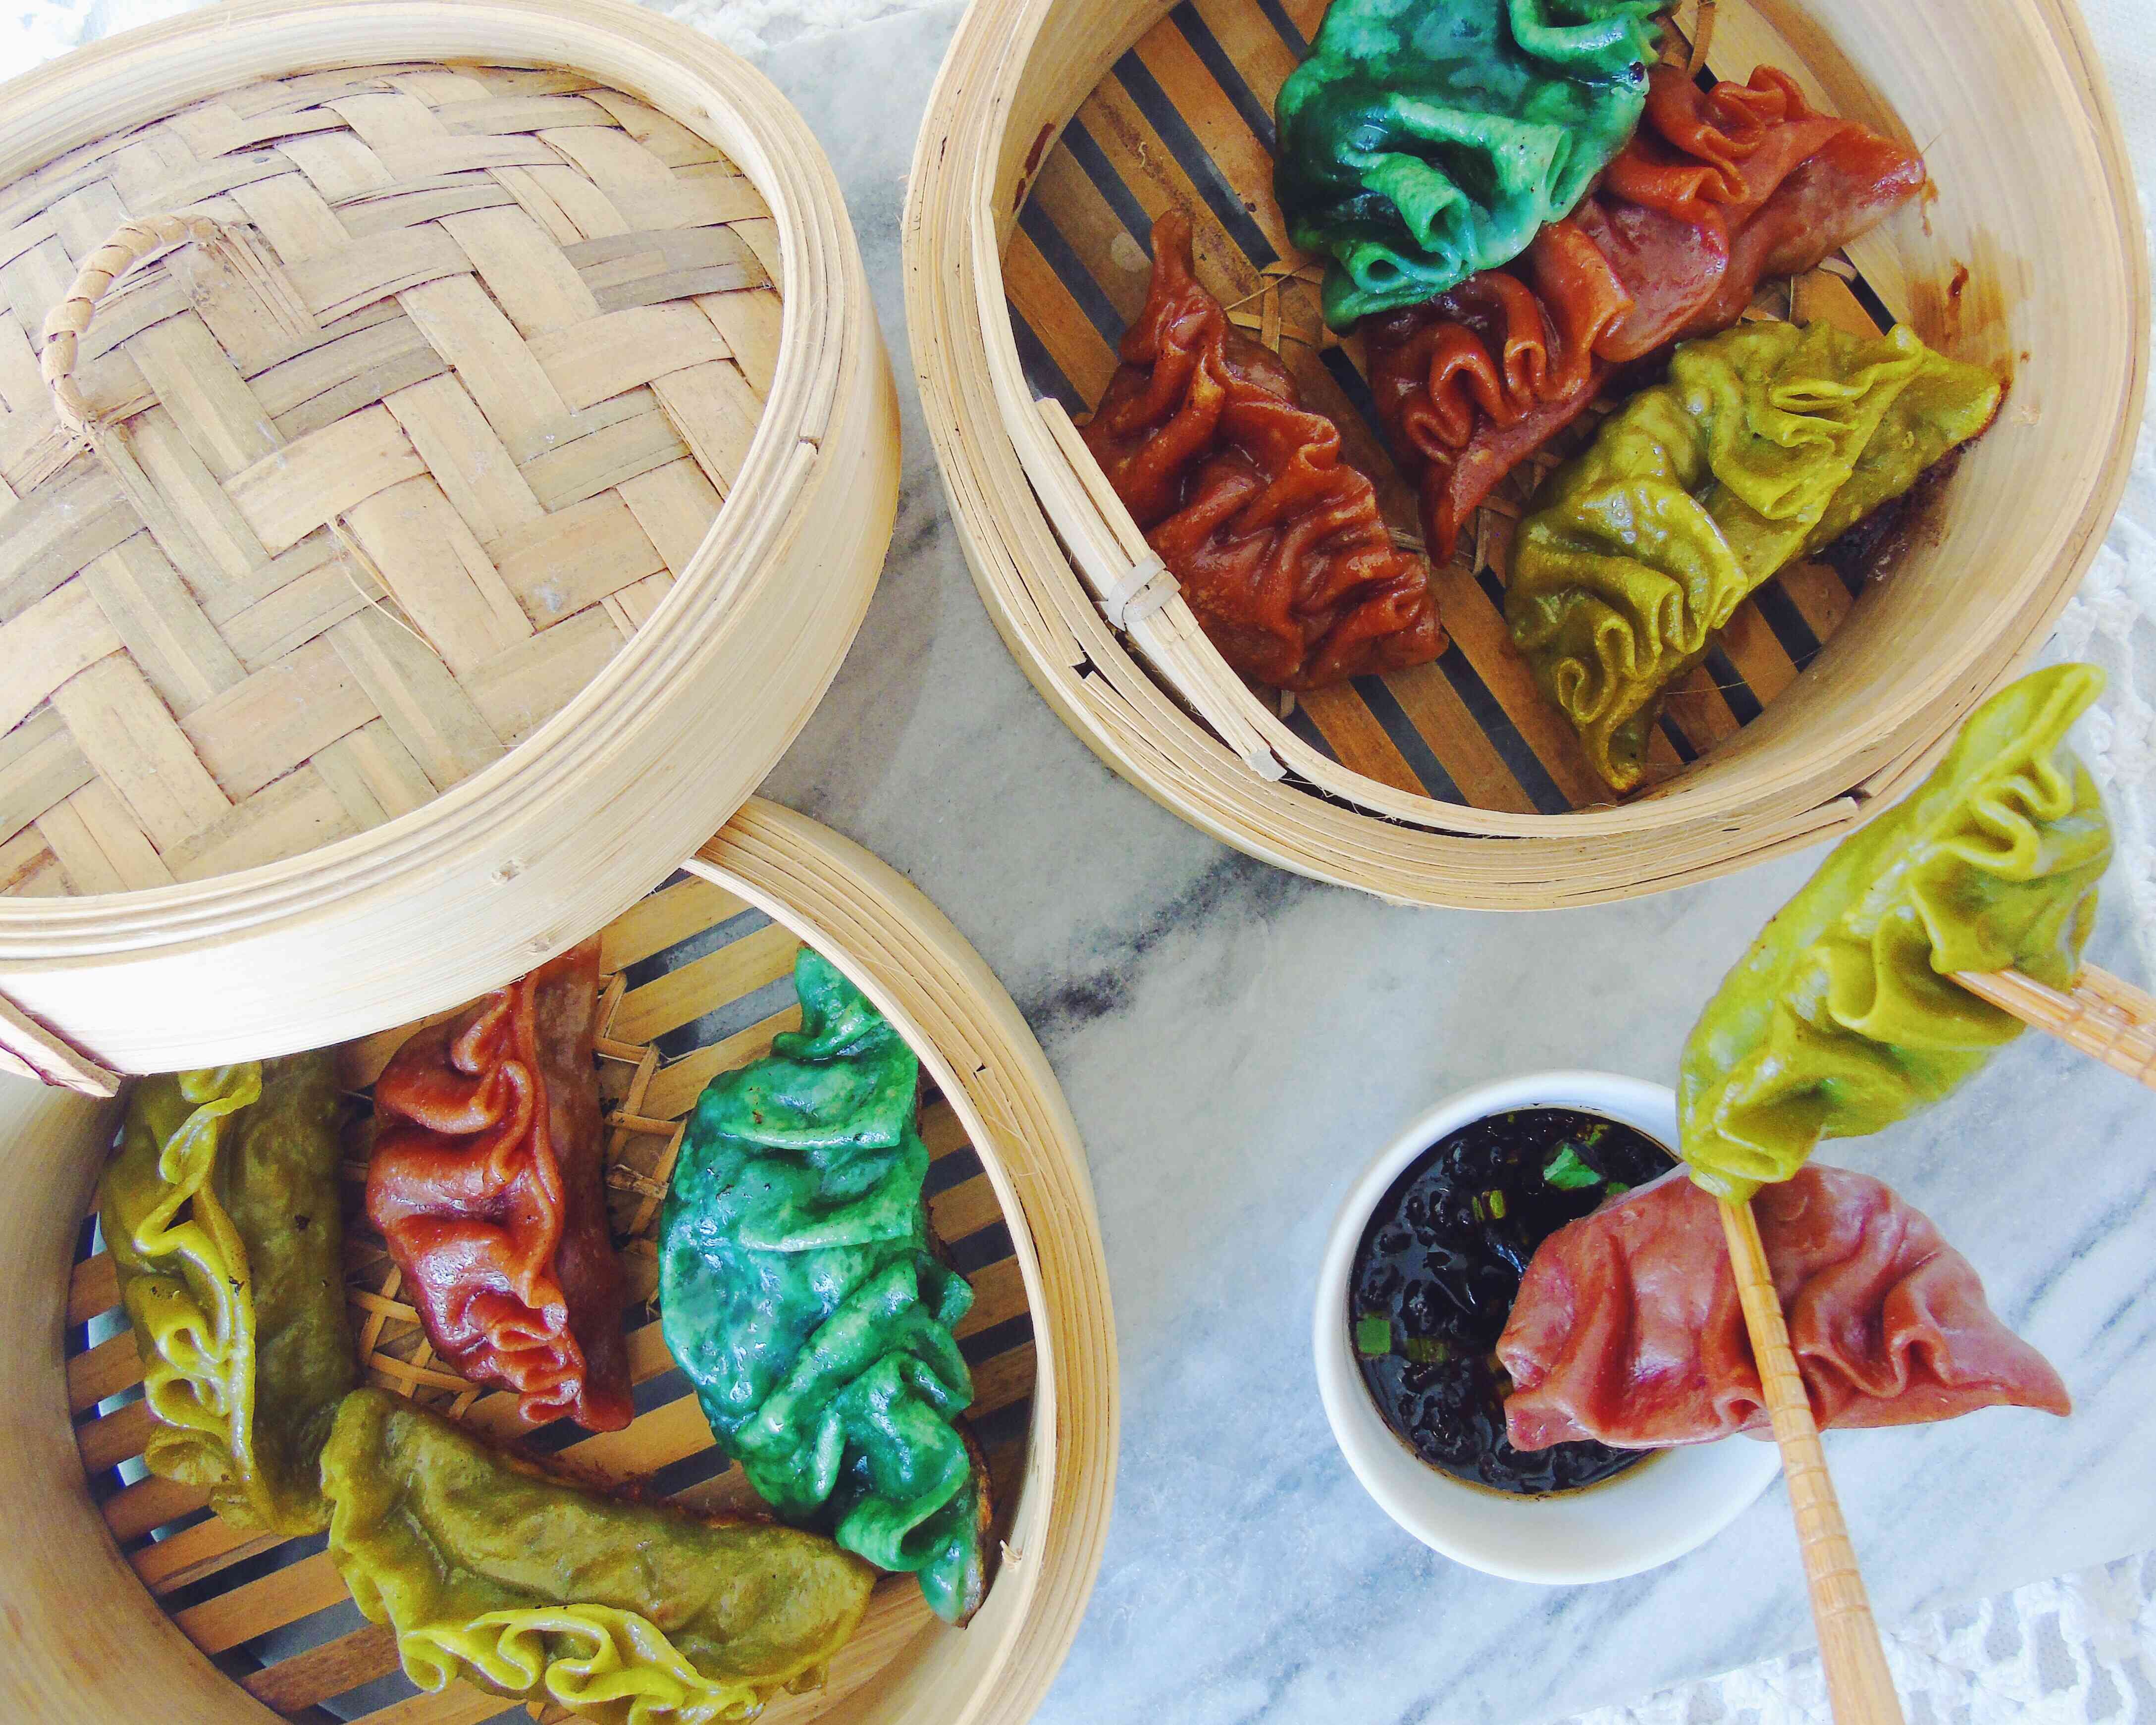
There are three ways to cook your dumplings, you can steam and boil them or have potstickers. My preferred way of making my dumplings are by steaming them in a bamboo steamer, because these use no oil and are a bit more healthy. I also love making pot stickers as they get a bit crunchy on the bottom, while still remaining their chewy texture.
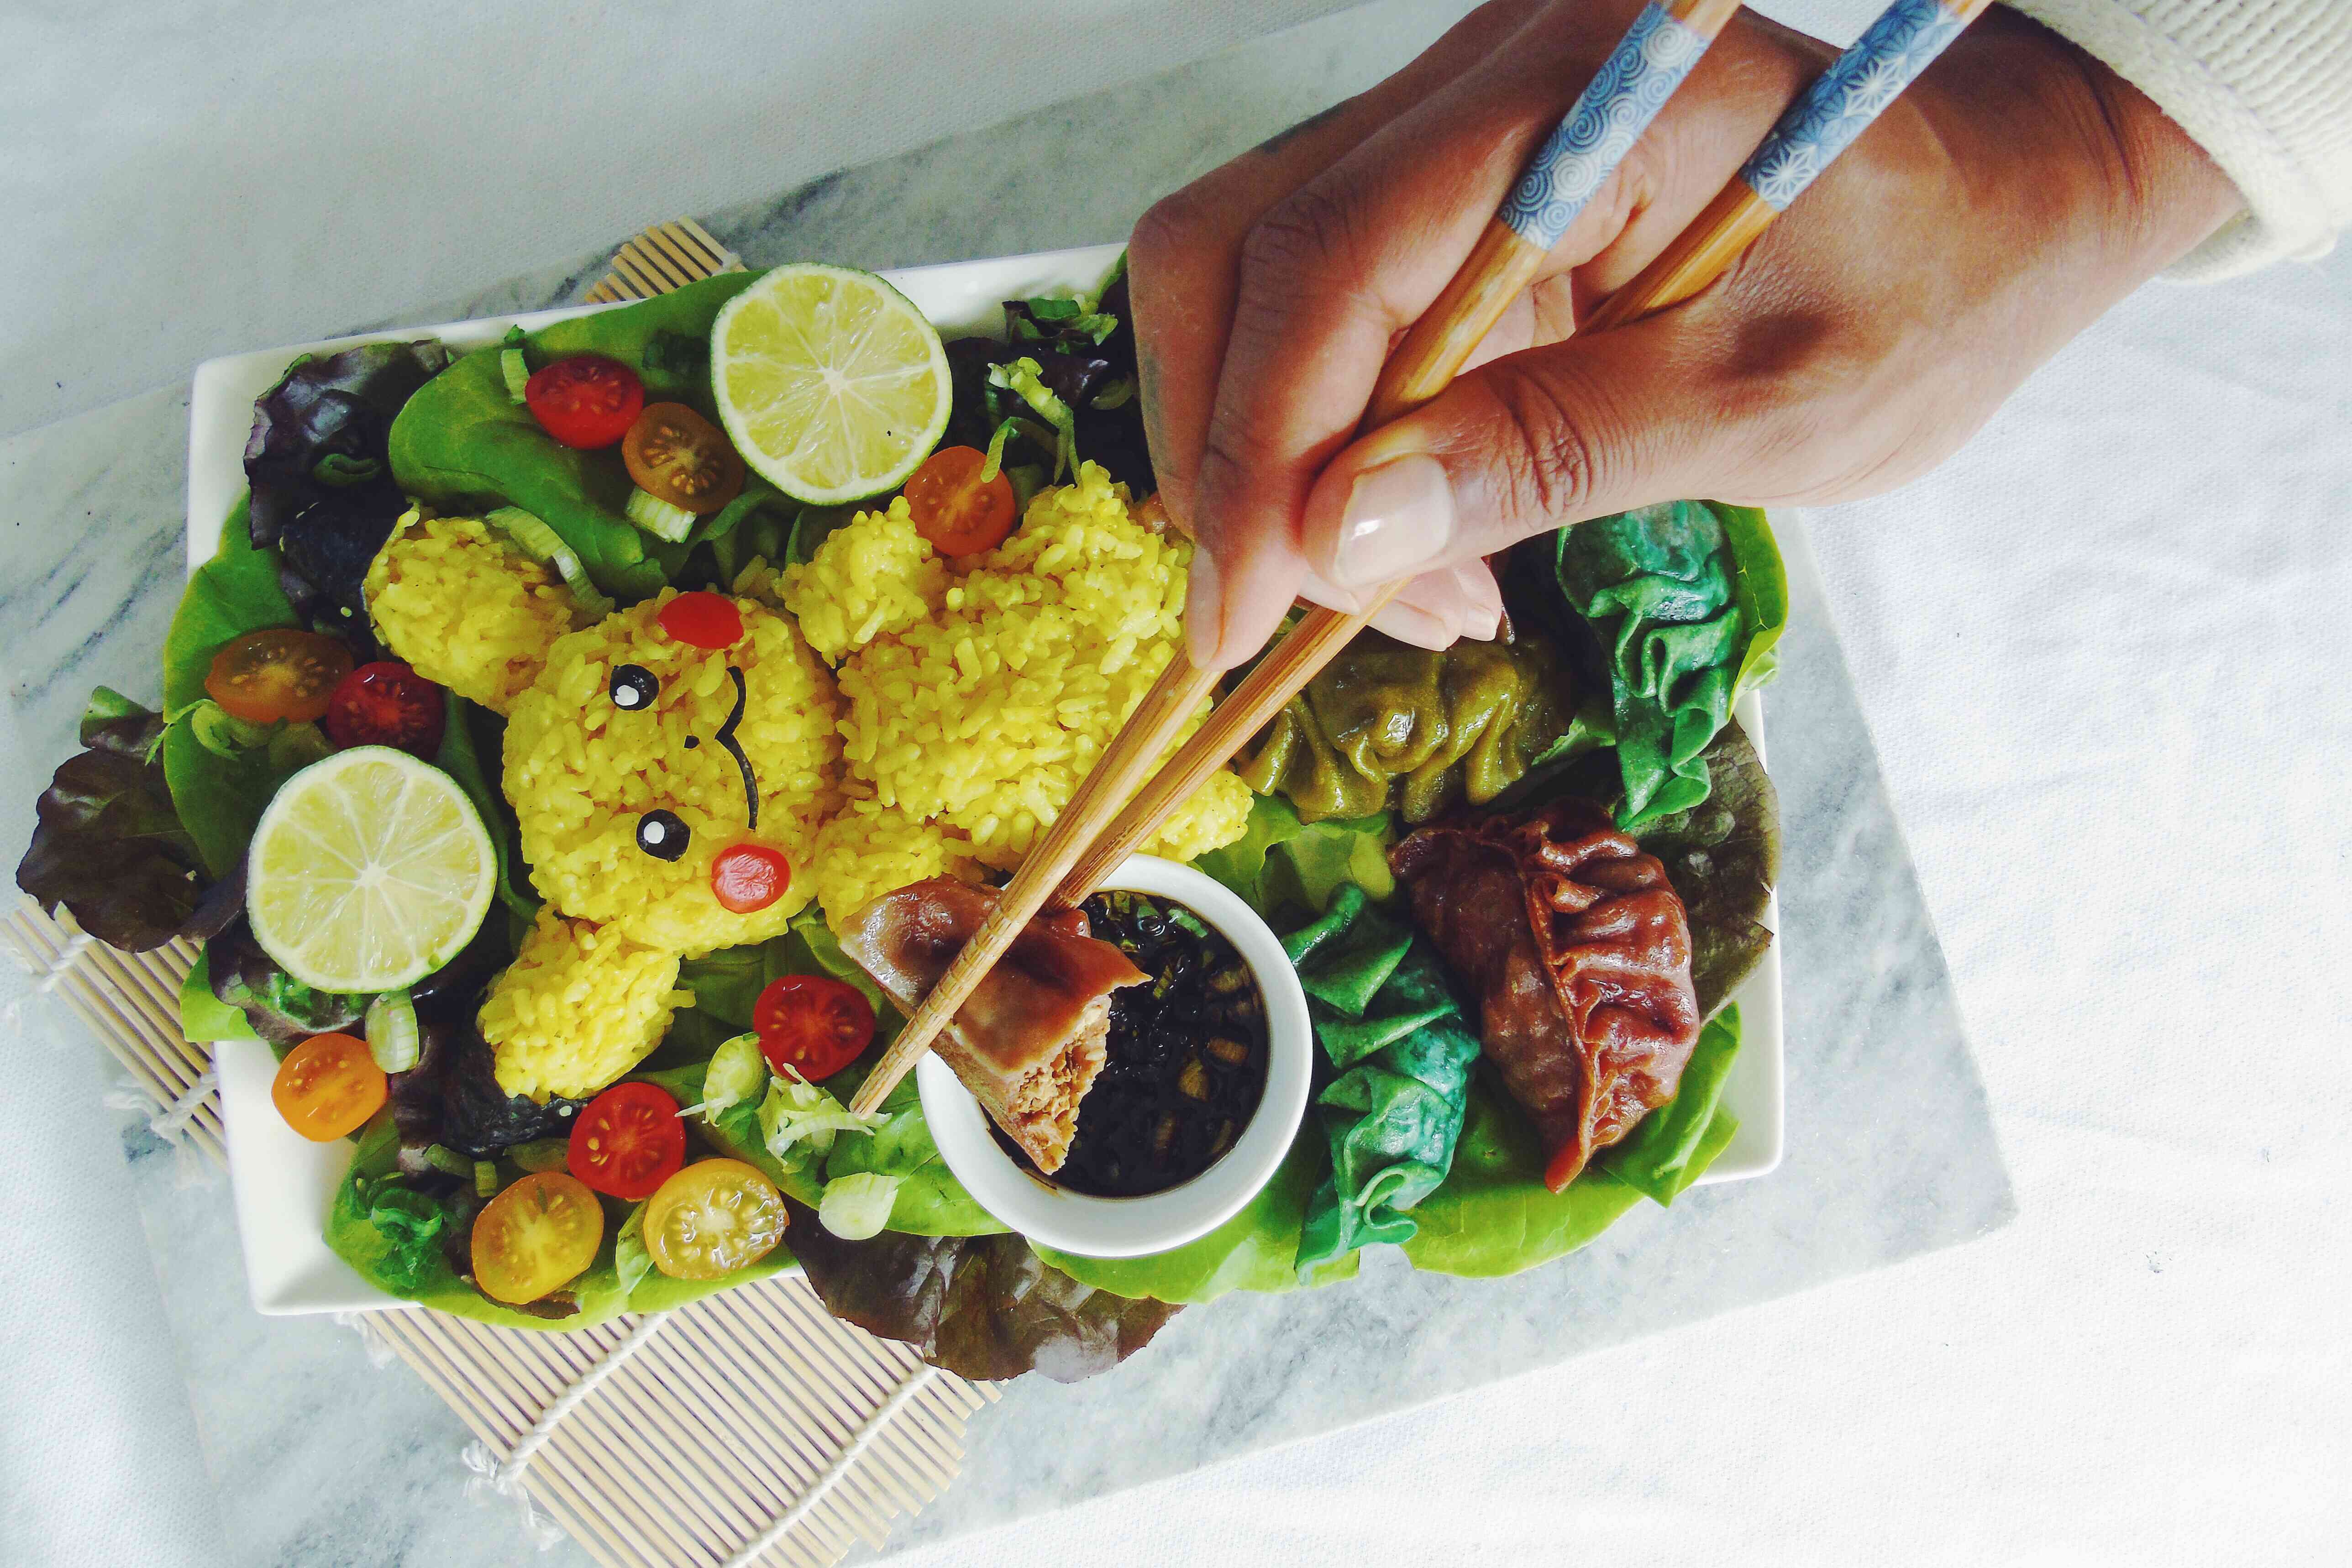
I used a mixture of soy sauce, toasted sesame oil and scallions to dip the dumplings in, but you could also use hot sauce or whatever floats your boat!
Growing up I ate lots of Surinamese Creole and Chinese dishes and they were the best! I love revisiting those cuisines and making vegan alternatives for those nostalgic dishes, all while infusing them with whatever colour I can find. Some dishes will be challenging though, but I’m always up for a challenge!
If you’re making these dumplings share you pics with me on Instagram or leave a comment below, I love seeing you recreate my recipes and giving them your own twist!
Stay awesome everyone and eat the rainbow!
Bless,
A.J.
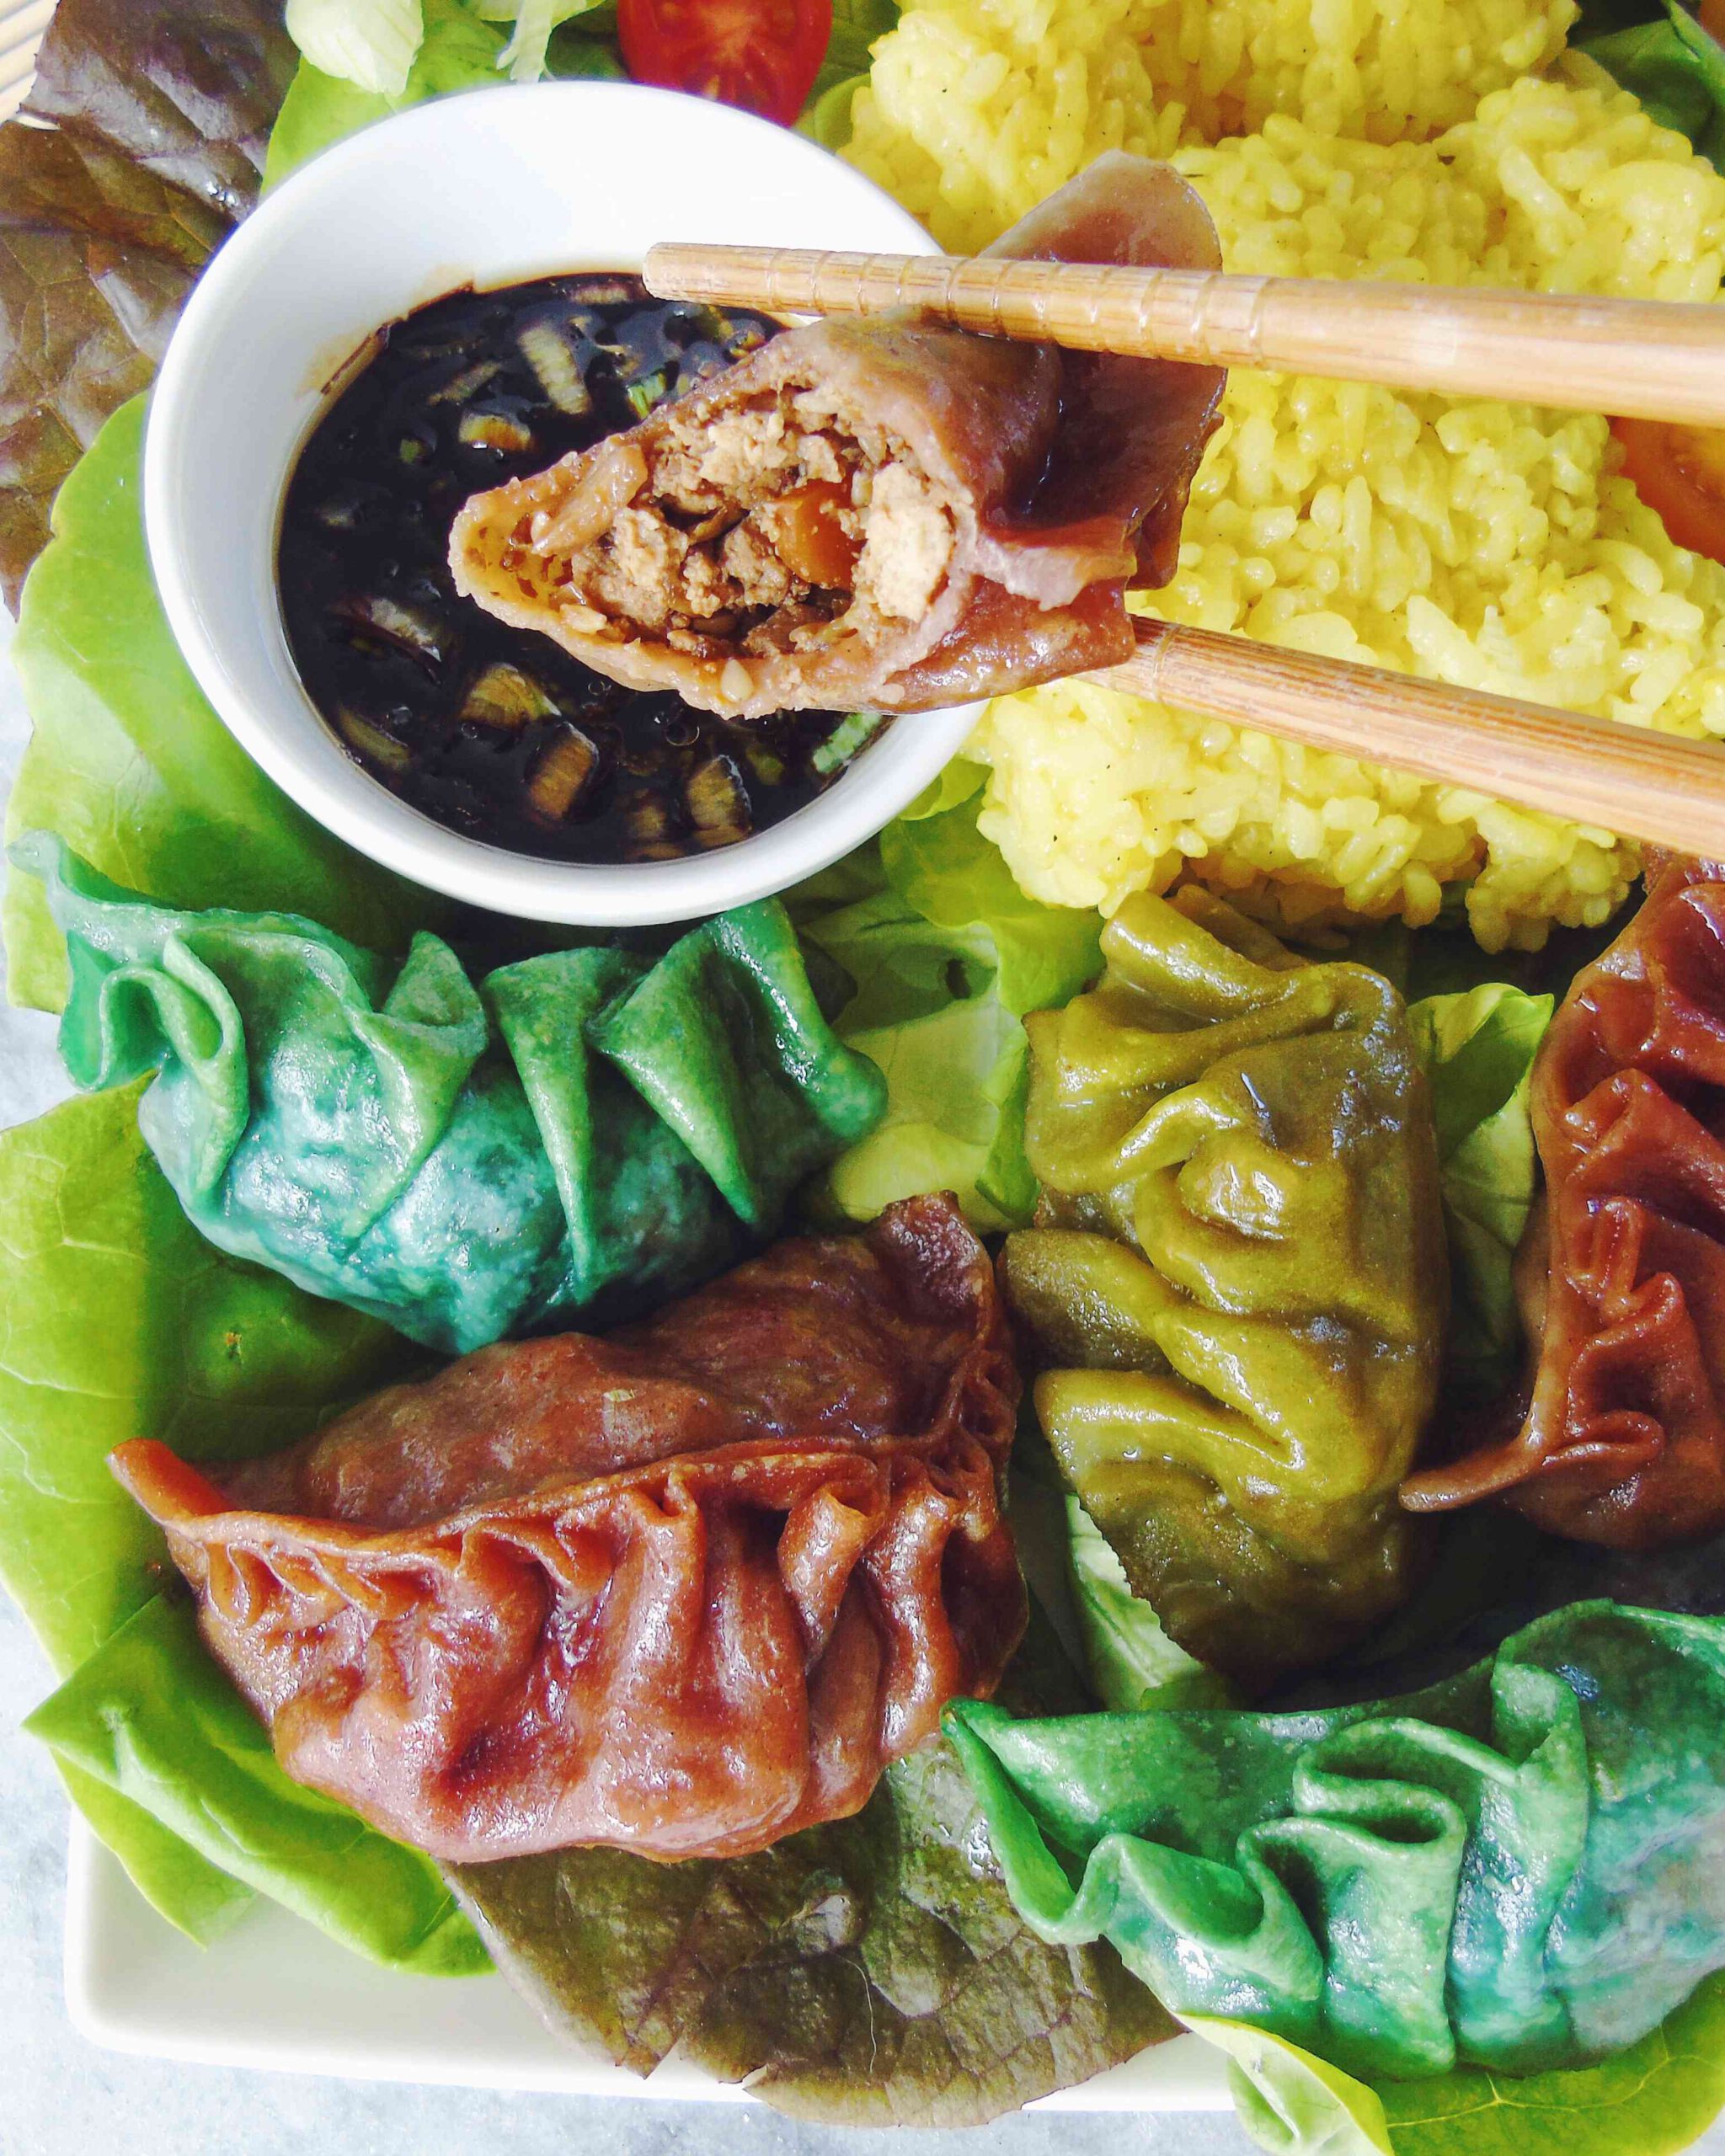
Tofu - Mushroom & Scallion Dumplings
Ingredients
Dumpling Wrappers
- 2 cups flour
- 3/4 cup water very hot
- food colour of choice (optional)
Filling
- 2 onions diced
- 6 cloves garlic minced
- 2 carrots diced
- 2 cups tofu crumbled
- 150 grams oyster mushrooms
- 4 dried mushrooms I used king oyster but you could use shitake
- 8 scallions
- 3 tbsp soy sauce
- 1 tbsp sugar
- 1/2 tsp 5 spice
- 1/2 tsp ginger powder
- 1/4 cup toasted sesame seeds
- 1 hot pepper (optional)
Instructions
Filling
- Soak the dried mushrooms for about 30 minutes in very hot water. After the soaking you can cut them up into little pieces. make sure everything's chopped, diced and crumbled into small pieces and not to big or chunky. Now sauté the onion, garlic and chopped mushrooms for about 3 minutes. Now add the rest of the ingredients and cook until most of the moisture has evaporated. Let the mixture cool and set aside while making the dough.
Dumpling Wrappers
- Green: mix a pinch of spirulina and turmeric through the flour Red: mix some beet powder through the flour Turquoise: Instead of using regular water use water that has been boiled for 15 minutes with purple cabbage. Add a pinch of baking soda to this water before using it to make the dough.
- If you're using a food processor with a dough hook, add the flour and optionally your food colouring of choice to the machine and turn it on. In a steady stream add very hot water through the feeding tube and form a ball of dough. Pinch the dough to see if its soft, but still firm enough to hold its shape. You can add a tiny amount of water if its to dry, or a small amount of flour if the dough it to wet. Knead the dough a little and put it in a plastic ziplock bag or place it in a bowl covered with a damp, wet towel to prevent the dough from drying out. Leave it here for 15 minutes to half an hour. To knead the dough by hand add the flour and food colouring of choice to a bowl and add the hot water while mixing the flour with a wooden spoon. Once the flour starts to form lumps and its cool enough to handle by hand you can start kneading it. Form a ball of dough and kneed for another couple of minutes until soft, but still firm enough to hold its shape, adding water or flour if needed. put it in a plastic ziplock bag or place it in a bowl covered with a damp, wet towel to prevent the dough from drying out. I made two batches of dough. And the turquoise I made the day after using a different filling (which I'll share in the near future, because I didn't write it down.)
- After the dough has rested kneed it for 30 seconds and take a take about 1/3 from the dough, place the rest back in the ziplock bag or underneath the damp towel. Flour your working surface and form little balls from the dough, the size of a marble. Roll them flat into circle shaped disk and fill the dumplings, close them and put them on a plate covered with parchment paper. After filling your first batch of dumplings put the plate or tray in the freezer while working your next batch. Once the dumplings are frozen (or partly frozen) you can add them to a ziplock bag and store them in the freezer for about 3 months (although they'll never last this long).

- To cook the dumplings you can steam them for a couple of minutes (frozen about 15 minutes) just line the steamer with parchment paper. Boil them until they float to the top. Or you can make pot stickers. Heat up some oil in a pan and once hot add the dumplings, cook for about a minute before adding a glass of water, quickly put the lid of the pan on and leave it to steam for about 7 minutes. They should be crispy on the bottom, but not burned.

Leave a Reply